

Quality (QA-QC): photo → finding with AI
In Quality (QA-QC) you don't fill out long forms: you snap a photo of what you spotted on-site and AI turns it into a finding that's ready to review, complete with a title, category, severity, and a recommendation for what to do next. You just confirm or tweak it and save. From there you assign it to someone, mark it "in progress," and close it once it's resolved. And for the things that come up on every visit, you build inspection checklists by line item.
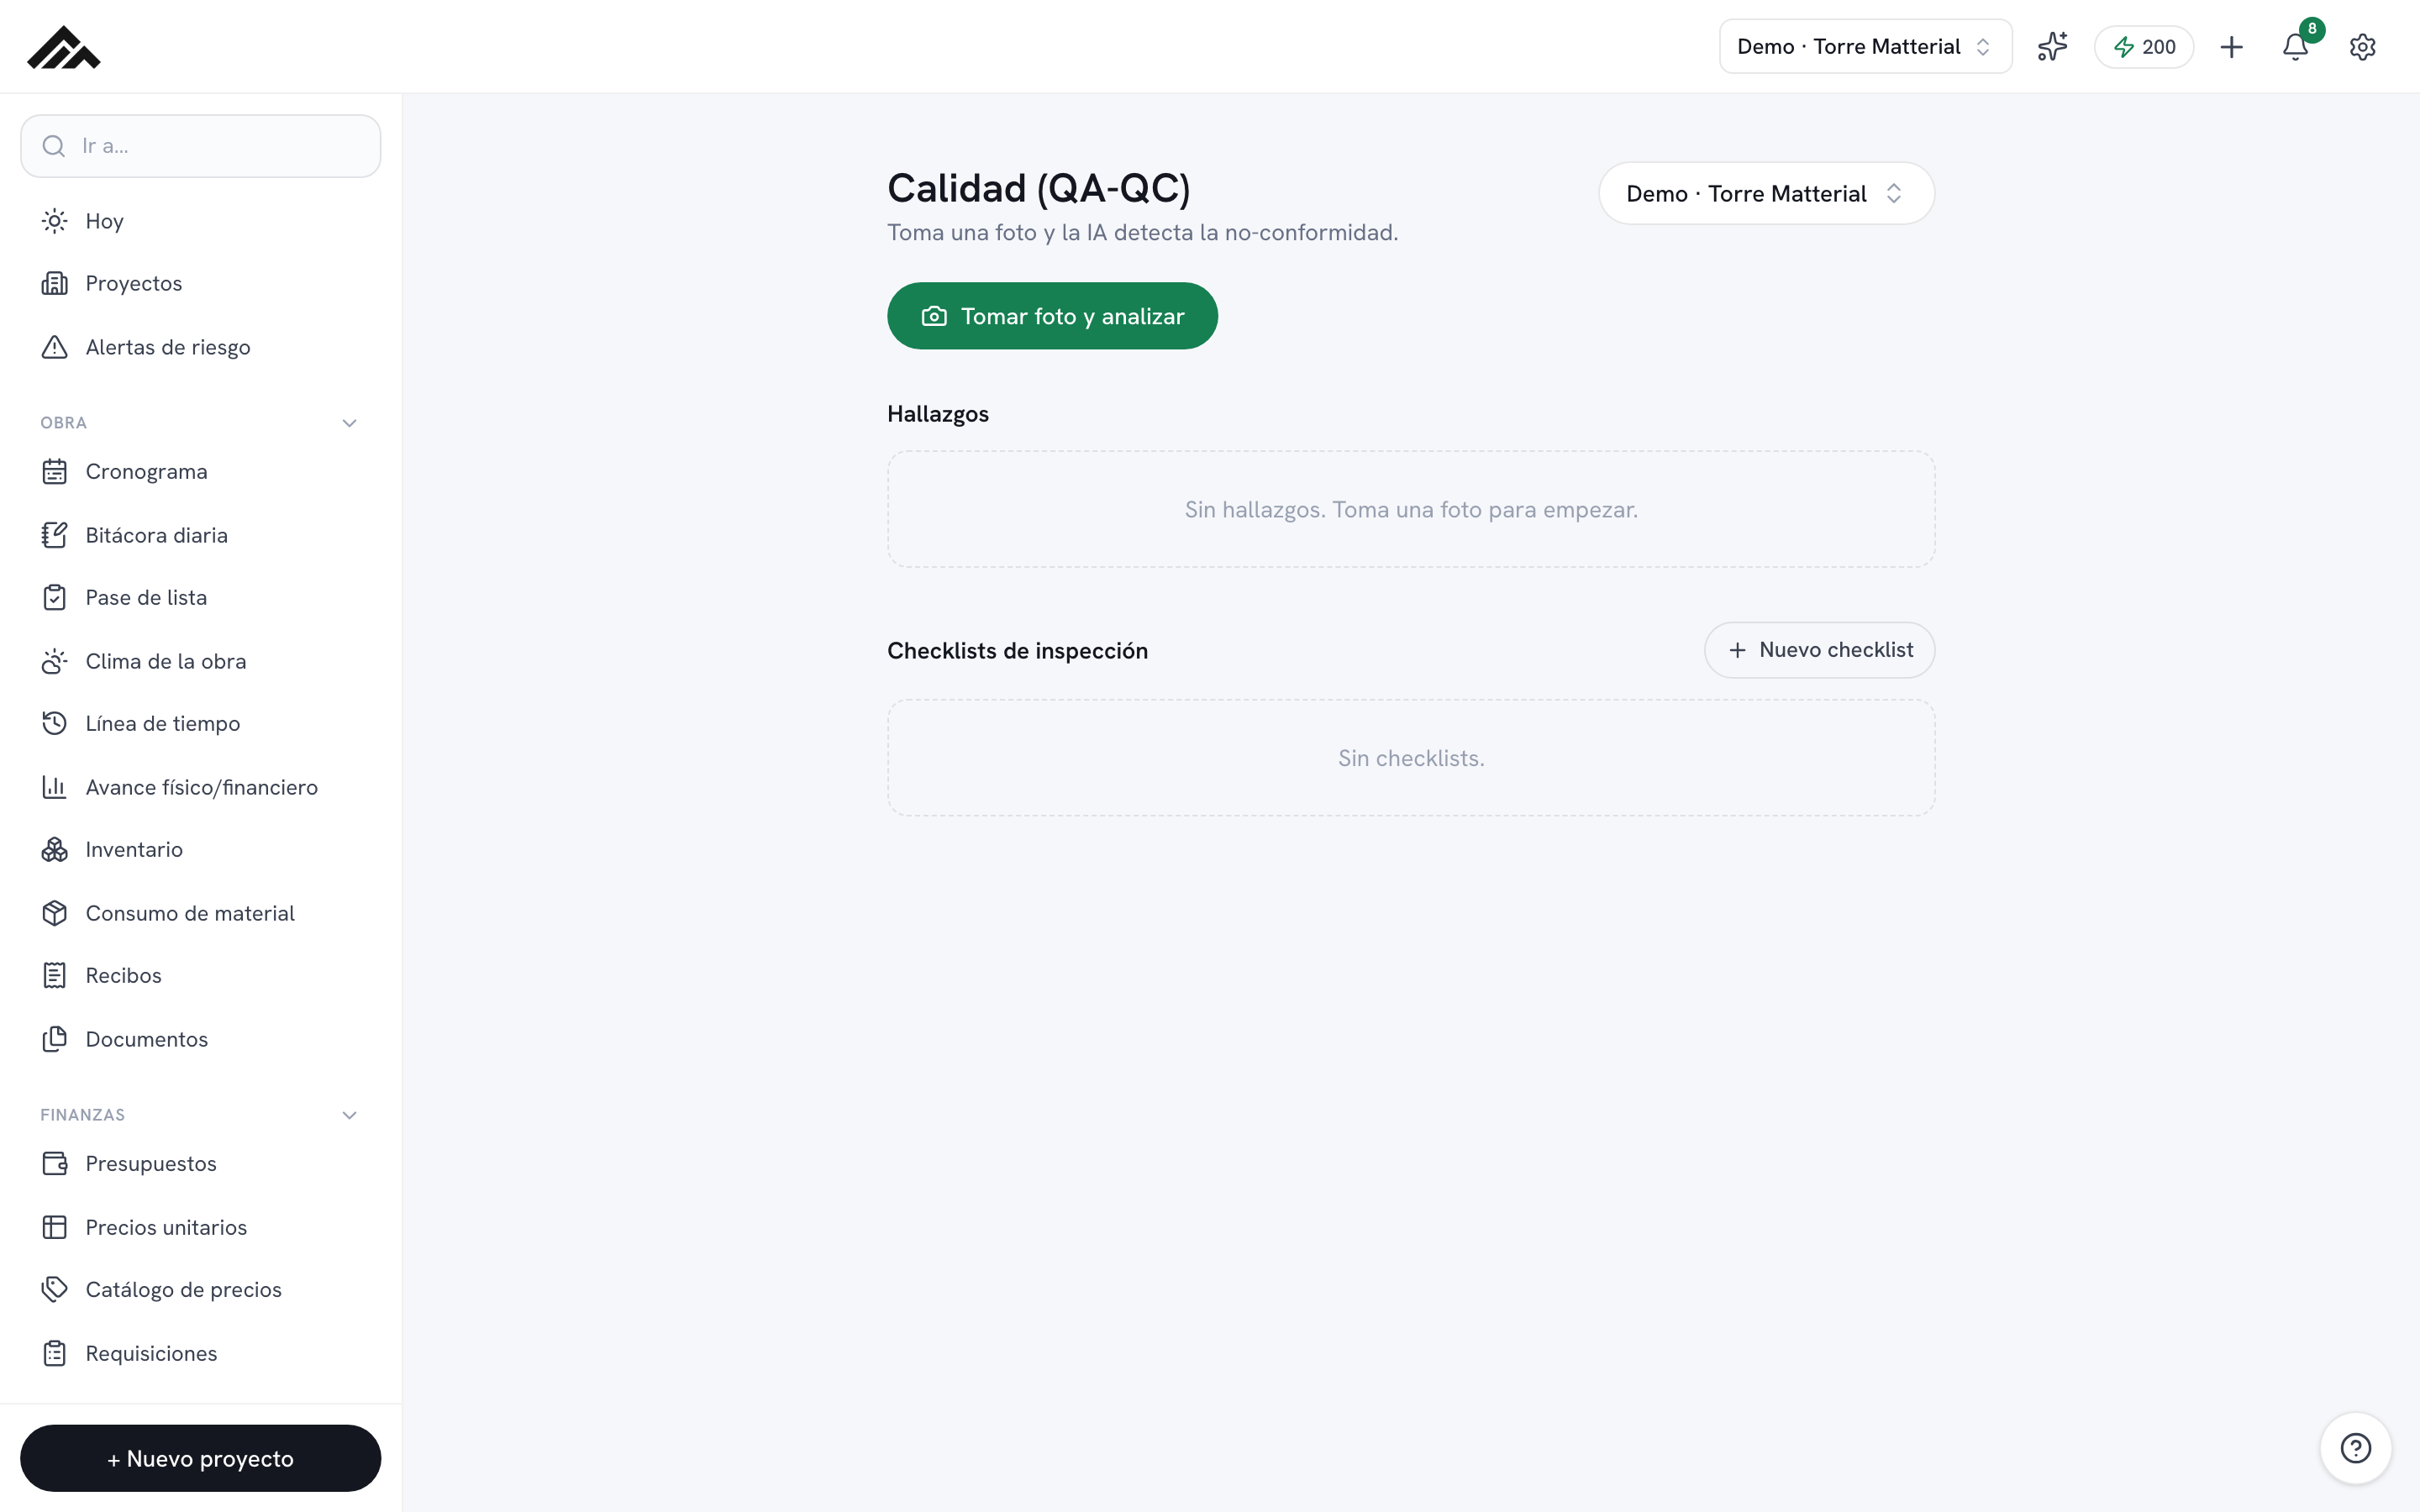
- A photo becomes a finding: AI suggests a title, category, severity (Low, Medium, High, Critical), description, and recommendation. Everything is editable before you save.
- Each finding can be assigned to someone and moved between open, in progress, and closed (with the option to reopen).
- The AI analysis draws from your company's shared monthly credit pool (from 200 on Free up to 25,000 on Enterprise); if they run out, you can keep logging findings by hand.
- The inspection checklists live on the same screen: you create one per line item, add points to verify, and check them off as you go.
- The module always works on the active project you pick in the top right.
- 1
Choose the active project
Open Quality (QA-QC). In the top right, use the project selector to pick the job you're working on. The findings and checklists you see and save belong to that project.
- 2
Take the photo and let AI analyze it
Tap the "Take photo and analyze" button. On your phone it opens the camera; on desktop you pick an image. While it works you'll see "Analyzing with AI…". This analysis draws credits from your company's pool.
- 3
Review the "AI-suggested" draft
AI returns a card with the proposed finding: Title, Category, Severity (Low, Medium, High, or Critical), Description, Recommendation, and Area / location. Everything is editable: fix whatever needs fixing and fill in the area (e.g., "Level 2, grid line C"). If the photo doesn't show a clear problem, you'll get a note that AI didn't detect a finding; you can still log it anyway.
- 4
Save the finding
Once the draft looks right, press "Save finding". It joins the project's Findings list, sorted by date, with its severity tag in plain sight. If you'd rather discard it, use the X or Cancel.
- 5
Assign and follow up
On each finding in the list, type the name of the person responsible, mark it "In progress," and close it with "Close" once it's resolved. A closed finding can be "Reopened," and the trash can icon deletes it.
- 6
Build inspection checklists
Further down, under "Inspection checklists," use "New checklist," give it a title and line item (e.g., "Steel receiving" / "Foundation"), add the points to verify, and check them off as you go. The counter shows how many you've done ("3 of 8 verified").
Frequently asked questions
Do I need internet or AI to use Quality?
Only the photo → finding part uses AI (and consumes credits). Everything else works without AI: you can create findings by hand by editing the draft, assign people, change statuses, and build inspection checklists as usual.
What happens if AI doesn't recognize anything in the photo?
It lets you know it didn't detect a clear finding, but it still puts together an editable draft for you to log yourself. AI is a starting point: you always have the final say on the title, severity, and recommendation before saving.
How much does each AI analysis cost?
Each analyzed photo draws from the monthly pool of AI credits shared across your whole company (from 200 on the Free plan up to 25,000 on Enterprise). If they run out, the module keeps working: you log and follow up on findings manually.