

Safety (EHS) and the risk matrix
The Safety (EHS) module turns a photo of the jobsite into a hazard finding you can act on right away: you take the picture, AI suggests the title, the severity, and a recommendation, then you review it and save. On top of that, you keep a risk matrix where every hazard is scored by likelihood and severity so you know what to tackle first. Everything is organized by project, so each jobsite has its own findings and its own matrix.
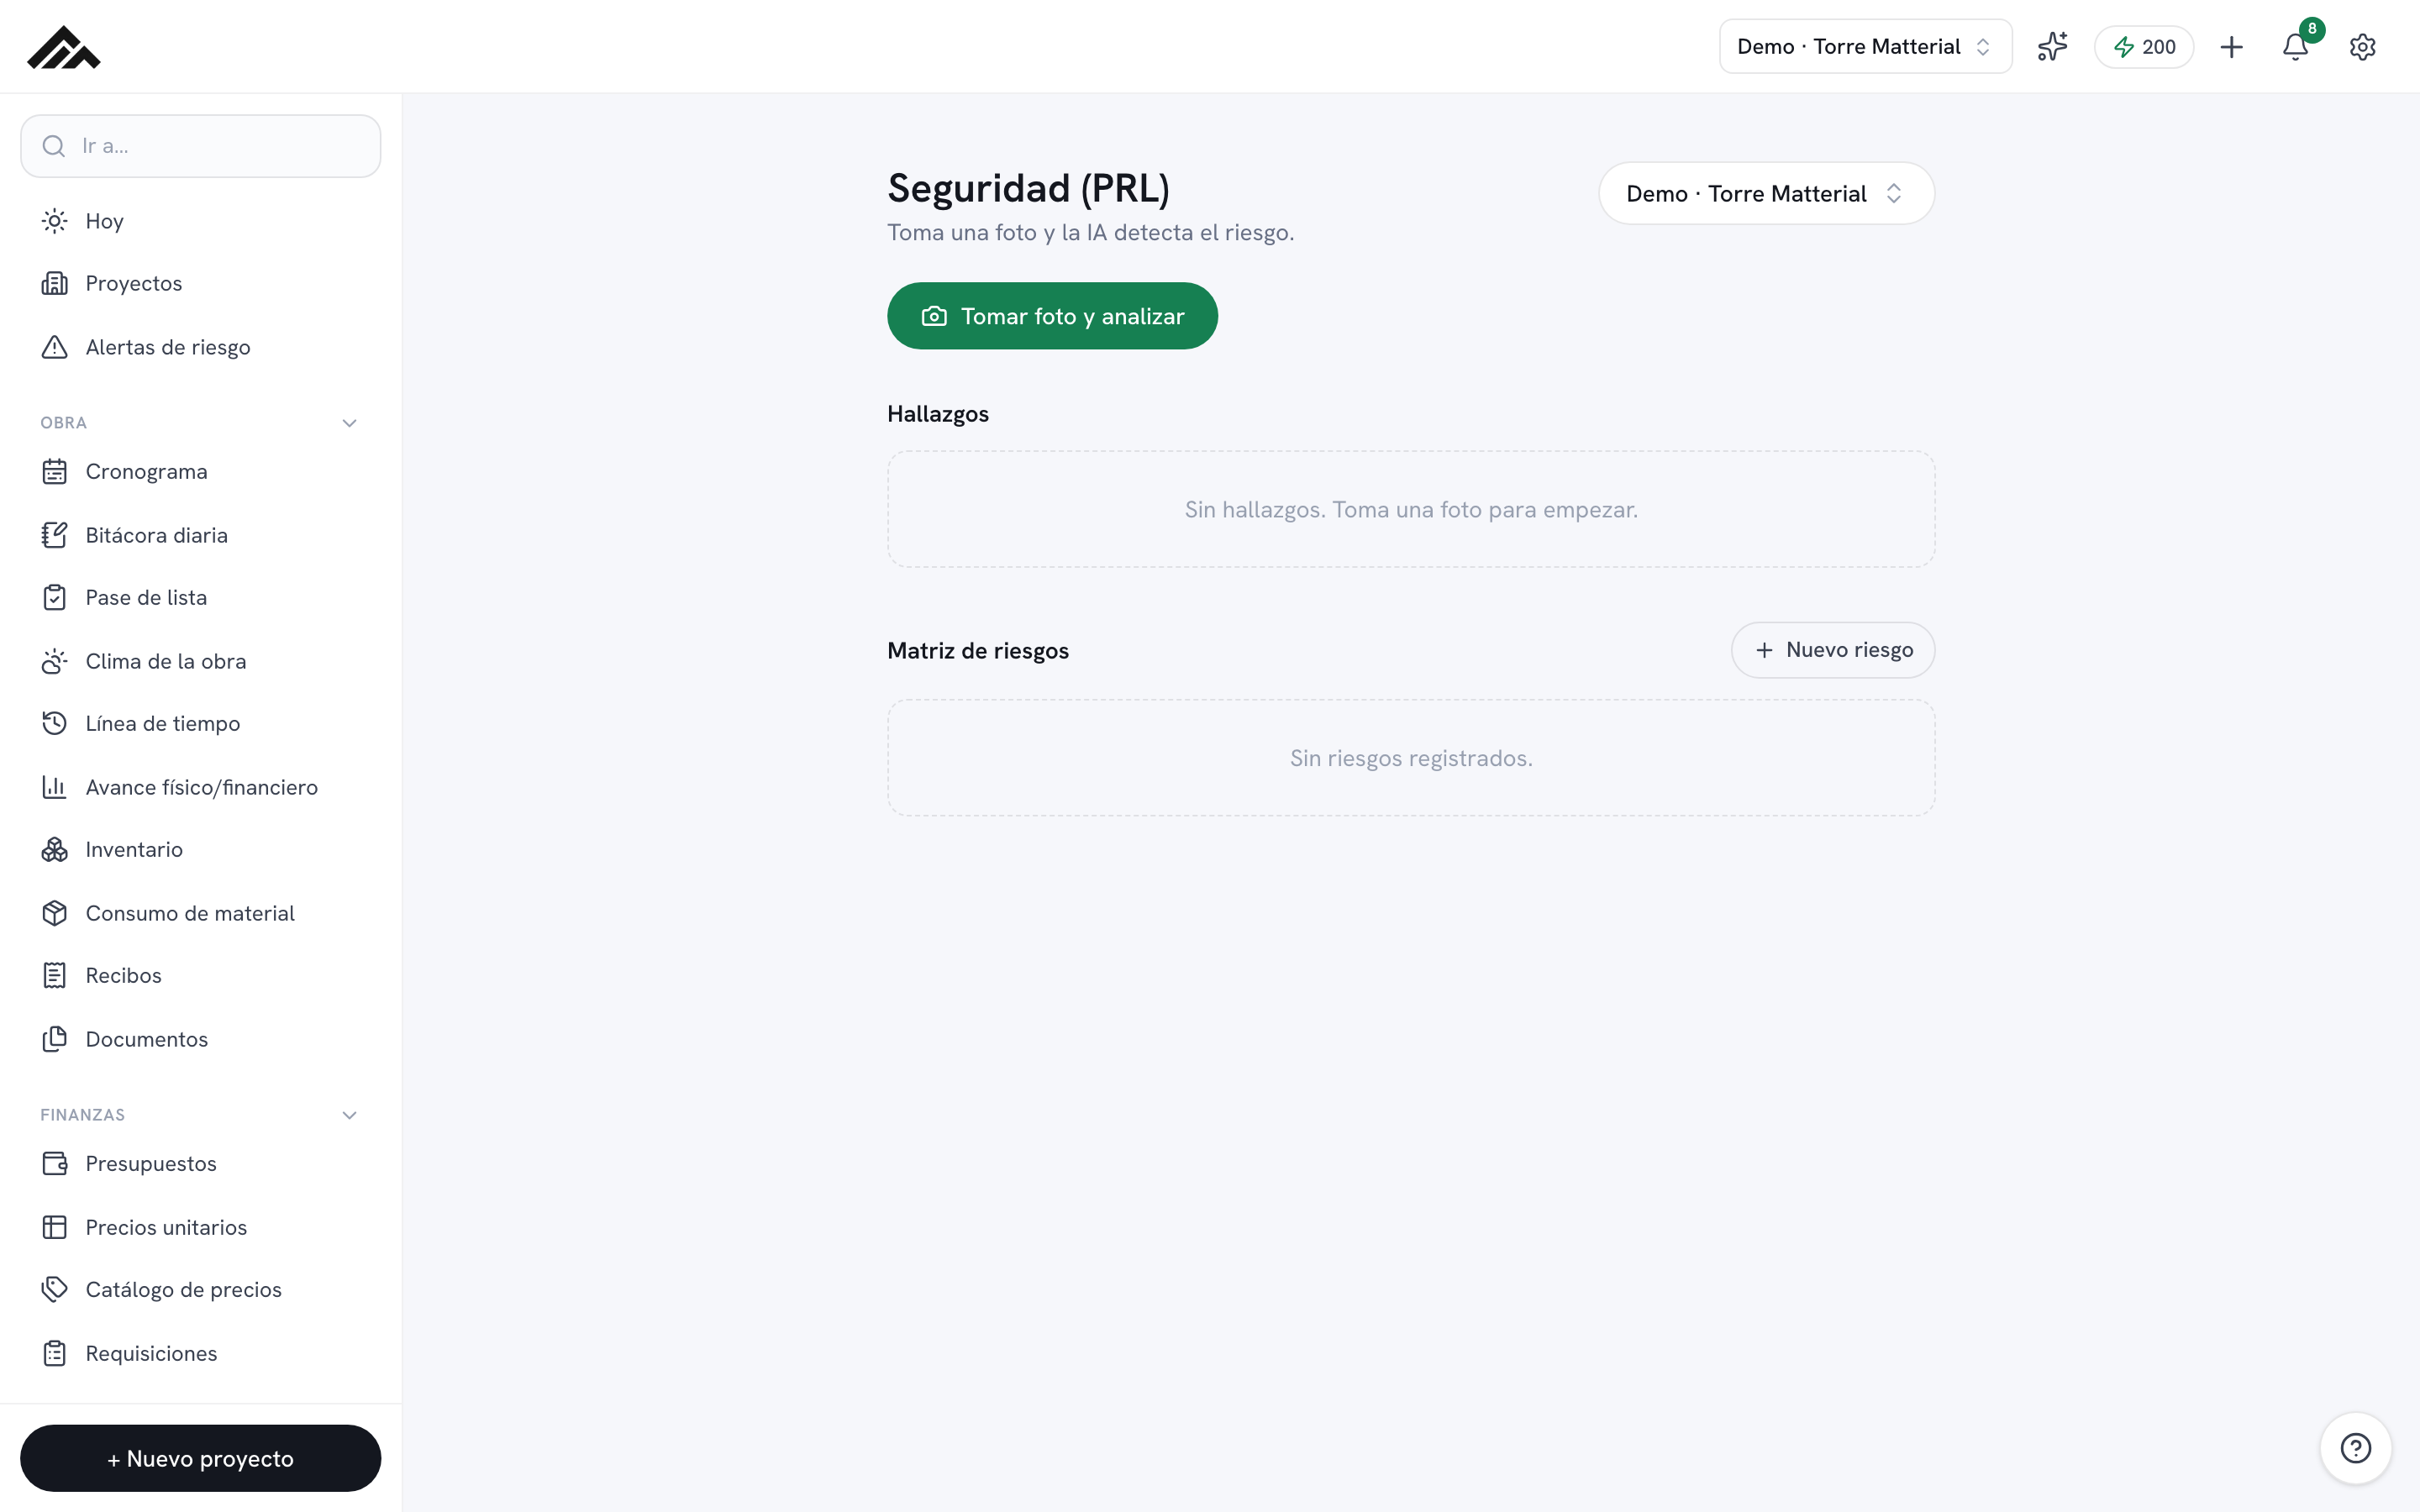
- Snap a photo and AI suggests a hazard finding (title, category, severity, and recommendation) that you can edit before saving.
- Each finding is assigned to an owner and moves from Open to In progress to Closed, with the option to reopen it.
- The risk matrix scores every hazard by likelihood x severity (1 to 5) and automatically rates it Low, Medium, or High.
- Everything lives by project: pick the active project in the top right before you capture or log anything.
- Only the photo analysis uses AI credits (a shared monthly pool, from 200 on Free up to 25,000 on Enterprise); the risk matrix doesn't burn any credits.
- 1
Pick the project
In the top right, use the project selector to choose the jobsite you're working on. The findings and the risk matrix you see and capture belong only to that project.
- 2
Take the photo and let AI analyze it
Tap 'Take photo and analyze.' On your phone the camera opens; on a computer, the image picker does. While it works you'll see 'Analyzing with AI…' as the vision AI scans the photo for a hazard.
- 3
Review and save the suggested finding
A 'Suggested by AI' card appears with Title, Category, Severity (Low, Medium, High, or Critical), Description, Recommendation, and Area / location (for example, 'Level 2, gridline C'). Tweak whatever you need and tap 'Save finding.' If the AI doesn't spot a clear hazard it lets you know, but you can still log it.
- 4
Follow up on every finding
In the 'Findings' list, type the owner's name, mark it 'In progress' while it's being handled, and hit 'Close' once it's resolved. You can 'Reopen' a closed finding if it comes back, or delete it with the trash icon.
- 5
Build your risk matrix
In the 'Risk matrix' section, tap 'New risk.' Describe the hazard (for example, 'Working at height without a harness'), rate the Likelihood and the Severity from 1 to 5, add the control measure (for example, 'Harness + lifeline'), and tap 'Add.' Each risk shows its score (likelihood x severity) and its level: Low, Medium, or High.
- 6
Keep the matrix current
Once a control is in place, tap 'Mark mitigated' and the risk fades down the list; you can 'Reactivate' it if it becomes live again, or delete it. That way the matrix reflects the real state of the jobsite on every visit.
Frequently asked questions
Can I log a risk without taking a photo?
Yes. The risk matrix is fully manual: you add the hazard, its likelihood, its severity, and the control measure with no photo and no AI. Findings, on the other hand, start from a photo; and even if the AI doesn't spot anything clear, you can edit the fields and save it anyway.
How is the risk level calculated?
Likelihood is multiplied by severity (both from 1 to 5). A result of 1 to 6 is Low, 7 to 14 is Medium, and 15 to 25 is High. The color and label are assigned automatically based on that score.
Does analyzing the photo use credits?
Yes. Each AI analysis draws from the monthly credit pool shared across the whole company (from 200 on Free up to 25,000 on Enterprise). Logging findings by hand, following up, and keeping the risk matrix don't spend any credits.